Set-Up Matrices
Matrix is used to convert raw condition scores into scaled condition scores.
This section outlines the steps needed to set up Matrix for different distresses in myData.
The procedure is same for all asset categories.
Step 1: Select Asset Register from the main menu bar and then select Setup Matrix as shown below:
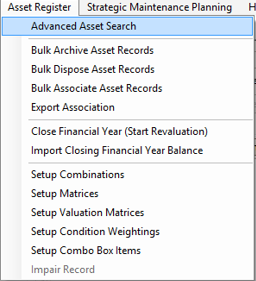
Note: To set up Matrix for an asset category, select the root level of that asset category from the left navigation panel, e.g. to set up Matrix for Bridges, select the Bridges category from the left navigation panel.
Step 2: The following screen will appear:
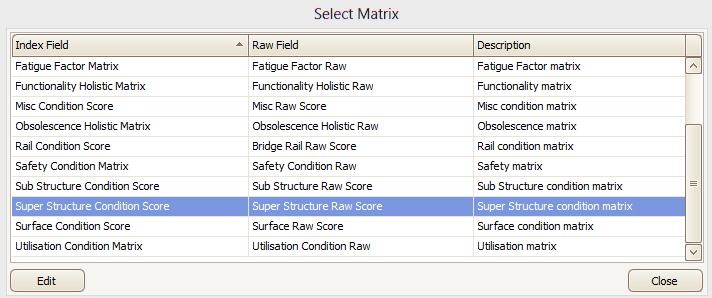
Note: The above screen is pre-populated (by default) with all available raw fields to which Matrix can be applied.
This screen has fields' specific to the selected asset category. Users cannot add or delete rows from this screen.
Select the Raw field to be set up for Matrix (this example shows setting up Matrix for Super Structure Condition Matrix).
Once you have selected Matrix for Superstructure Condition Matrix, click Edit.
Step 3: In the screen below add the final condition index details.
Refer to your organization's business process manual.
The NAMF recommendation is a 1 - 5 indexation.
There is no restriction however in myData.
Users may choose a different indexation.
- To add Indices, click Add
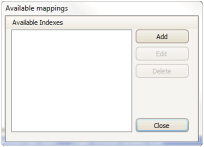
- The following screen will appear:
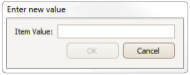
- Enter the Item Value and click OK
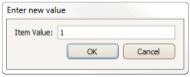
- The value will be stored as an Available Index.
- Add all the required index values. In this example, Final condition values from 1 – 5 are added
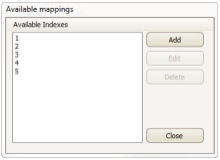
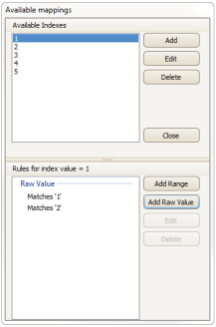
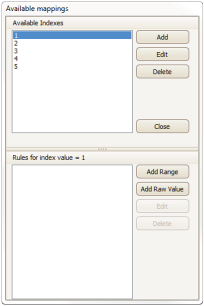
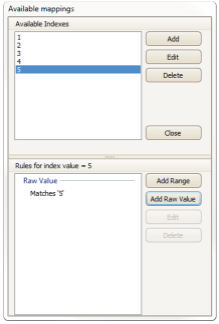
- Once complete, indicate the rating by clicking on the numbers to assign them raw scores
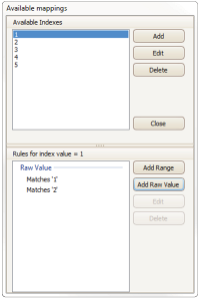
Step 4: A second window will pop up. Raw condition scores can be added. To add a value click Add Raw Value.
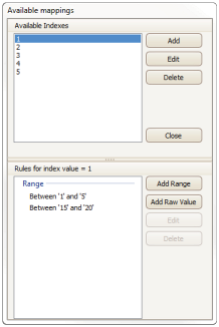
- Users may also add a range of values by clicking Add Range.
Note: For any final condition index, Users can add more than one raw value or can add more than one range of values.
Refer to the examples below:
- More than one raw value can be assigned to a Final Condition Index
- Different ranges can be assigned to derive the Final Condition Index
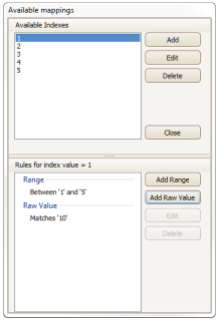
- Range and single values can be assigned to derive the Final Condition Index
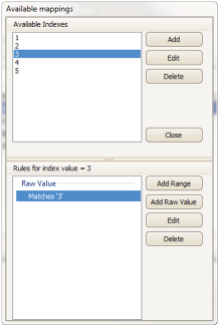
- Add the appropriate range(s) or value(s) for each Index. In this example, a raw value is assigned to each available index.
|
Description |
Raw Score |
Final Score |
|
Super Structure Condition (Bridges) |
1 |
1 |
|
Super Structure Condition (Bridges) |
2 |
2 |
|
Super Structure Condition (Bridges) |
3 |
3 |
|
Super Structure Condition (Bridges) |
4 |
4 |
|
Super Structure Condition (Bridges) |
5 |
5 |
- Once complete, click Close in the dialog box and also in the main screen as in Step 2. The following message will appear:
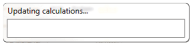
Note: Updating calculations means the system is searching for the raw score and is assigning a Final Condition Index as set up by the Users.
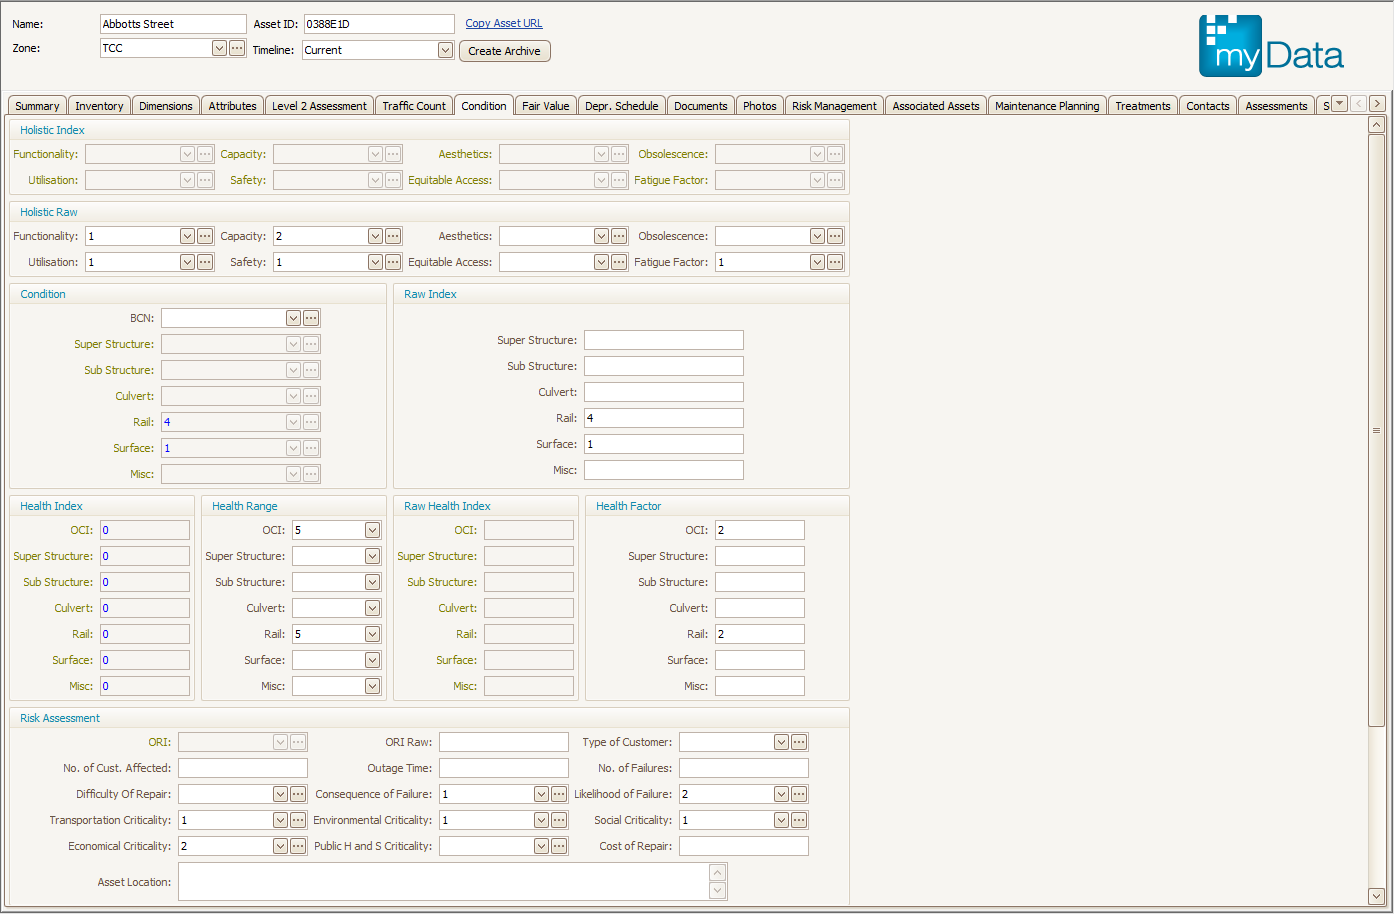
Once completed, all raw scores are converted into a final score and can be referred to in the Condition tab:
Step 5 - Edit/Delete: To Edit or Delete an available index, select the value from the Available Mappings dialog box.
Once selected, click Edit or Delete to perform the required action.
After adding values and/or ranges is complete, click Close in the dialog box and also on the main screen as in Step 2.
The system will update calculations in accordance with the changes.